
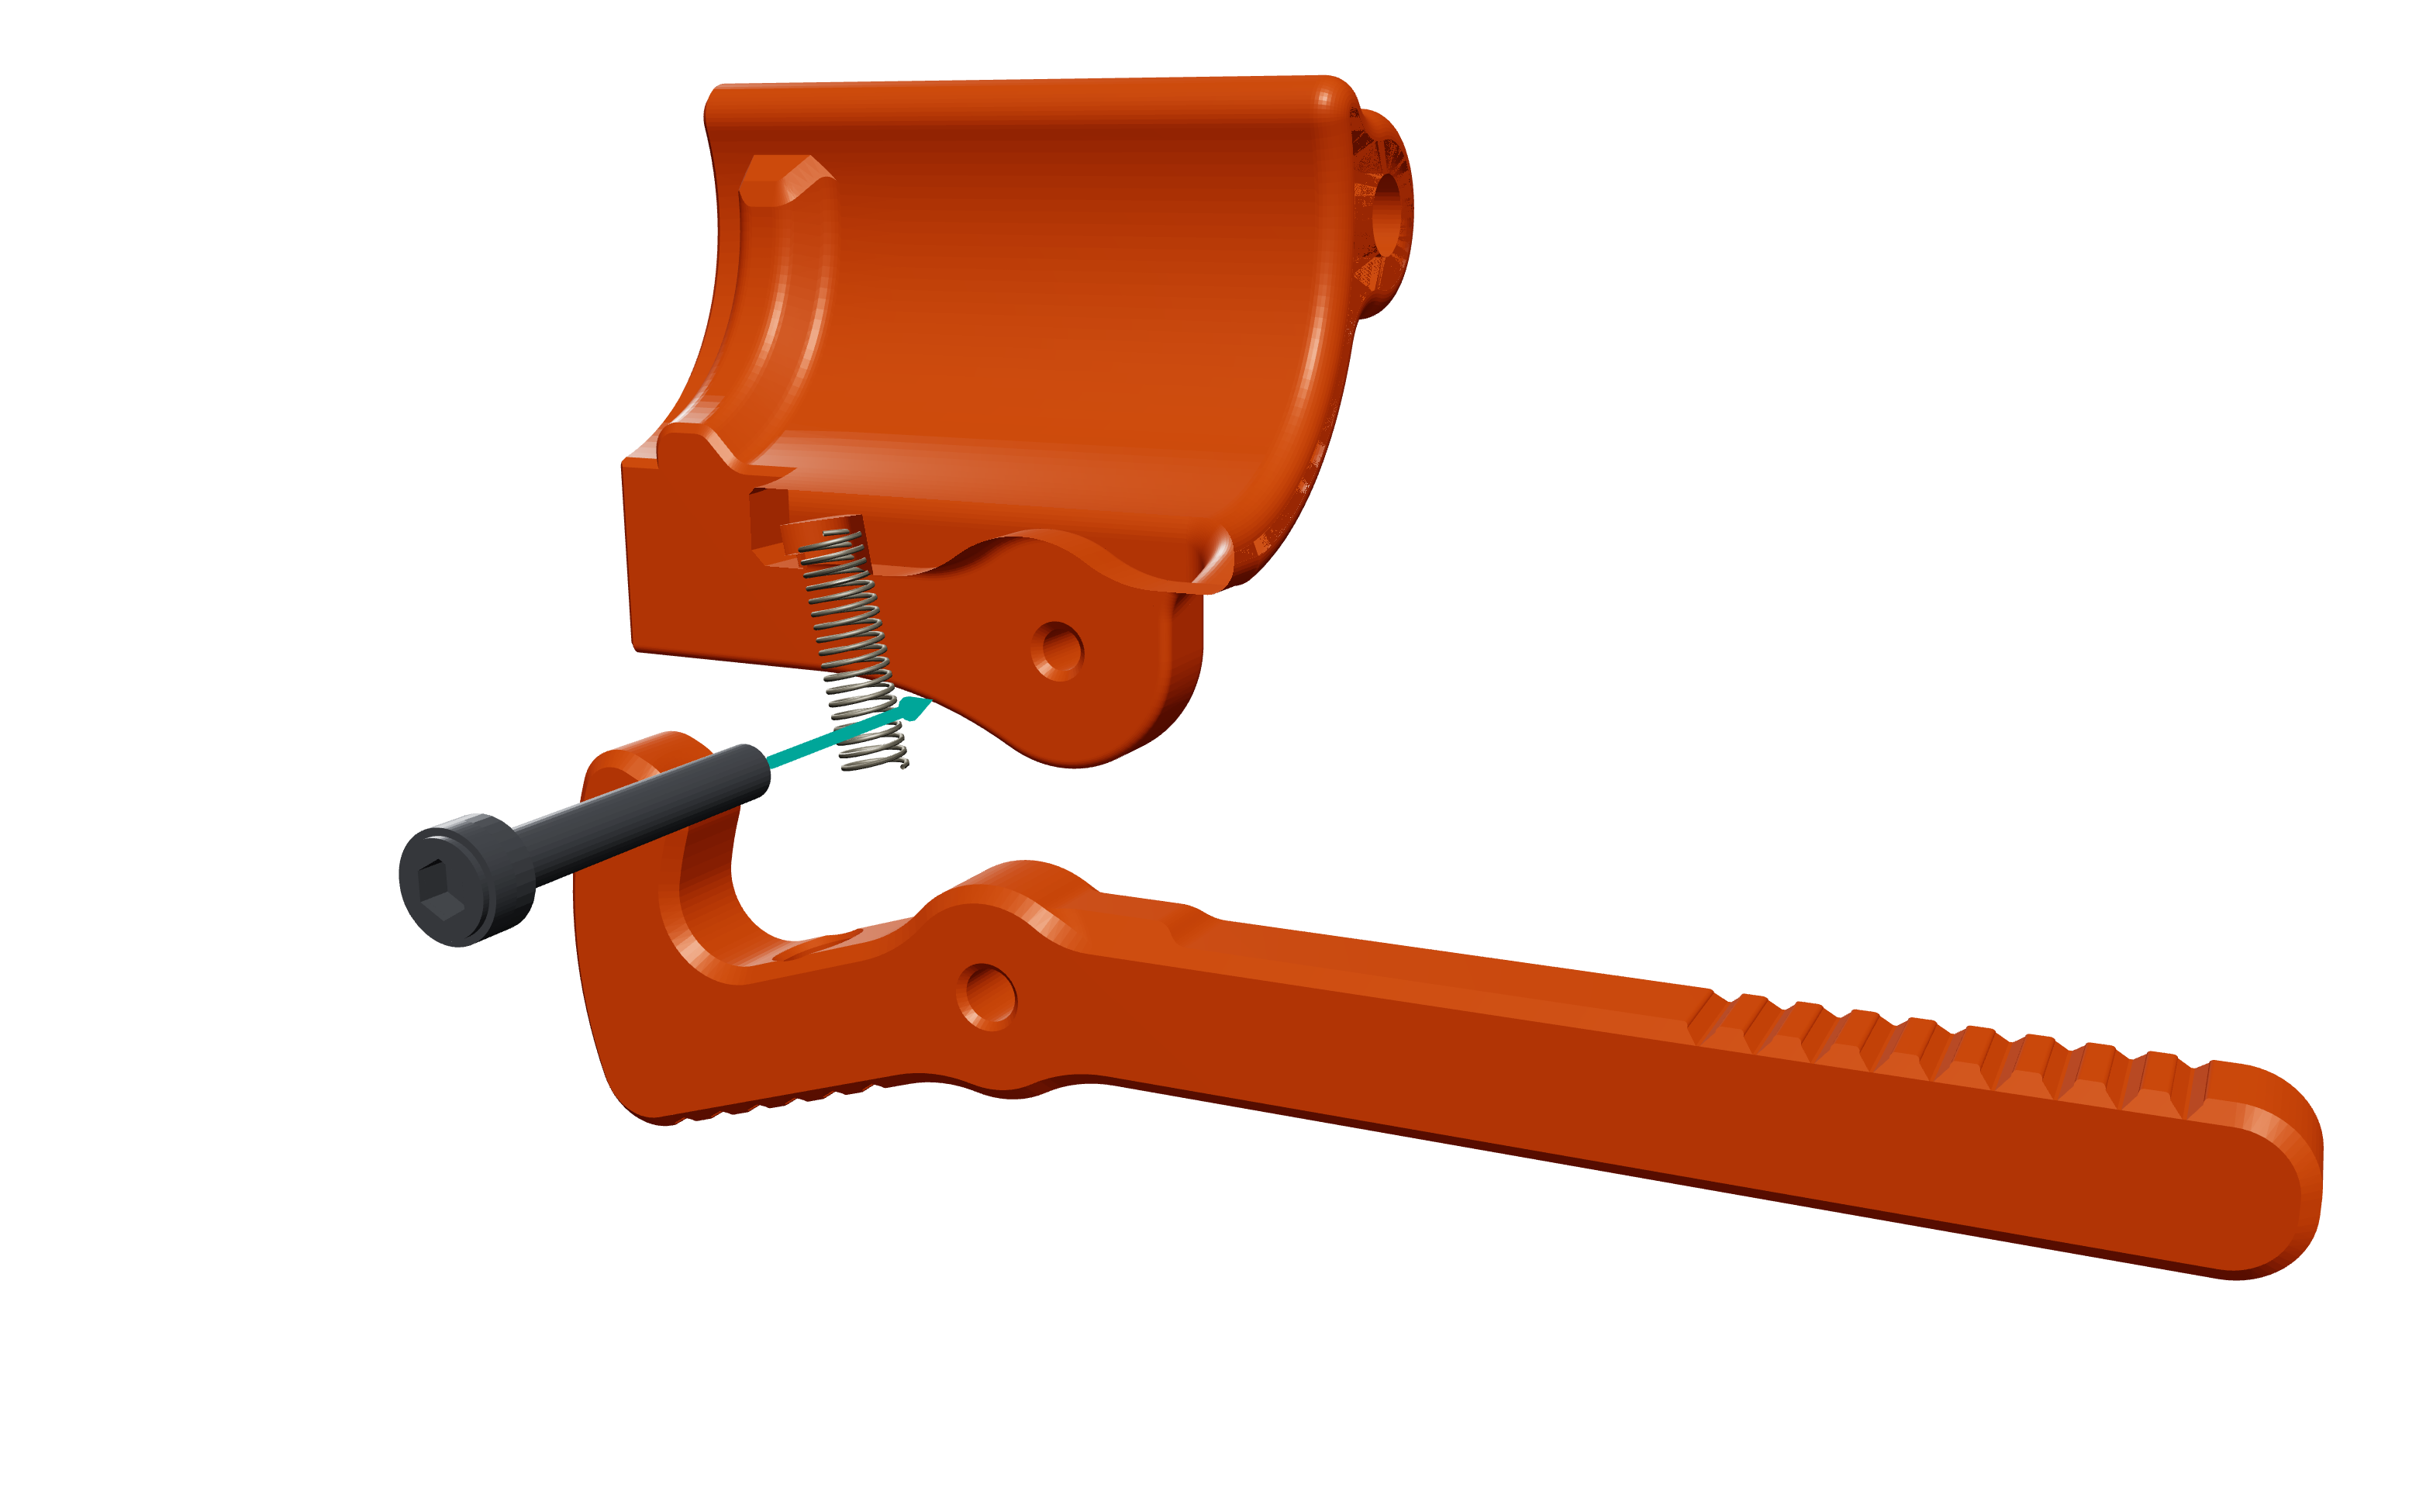
[01]
Machines · Sillybutts Wildstyle
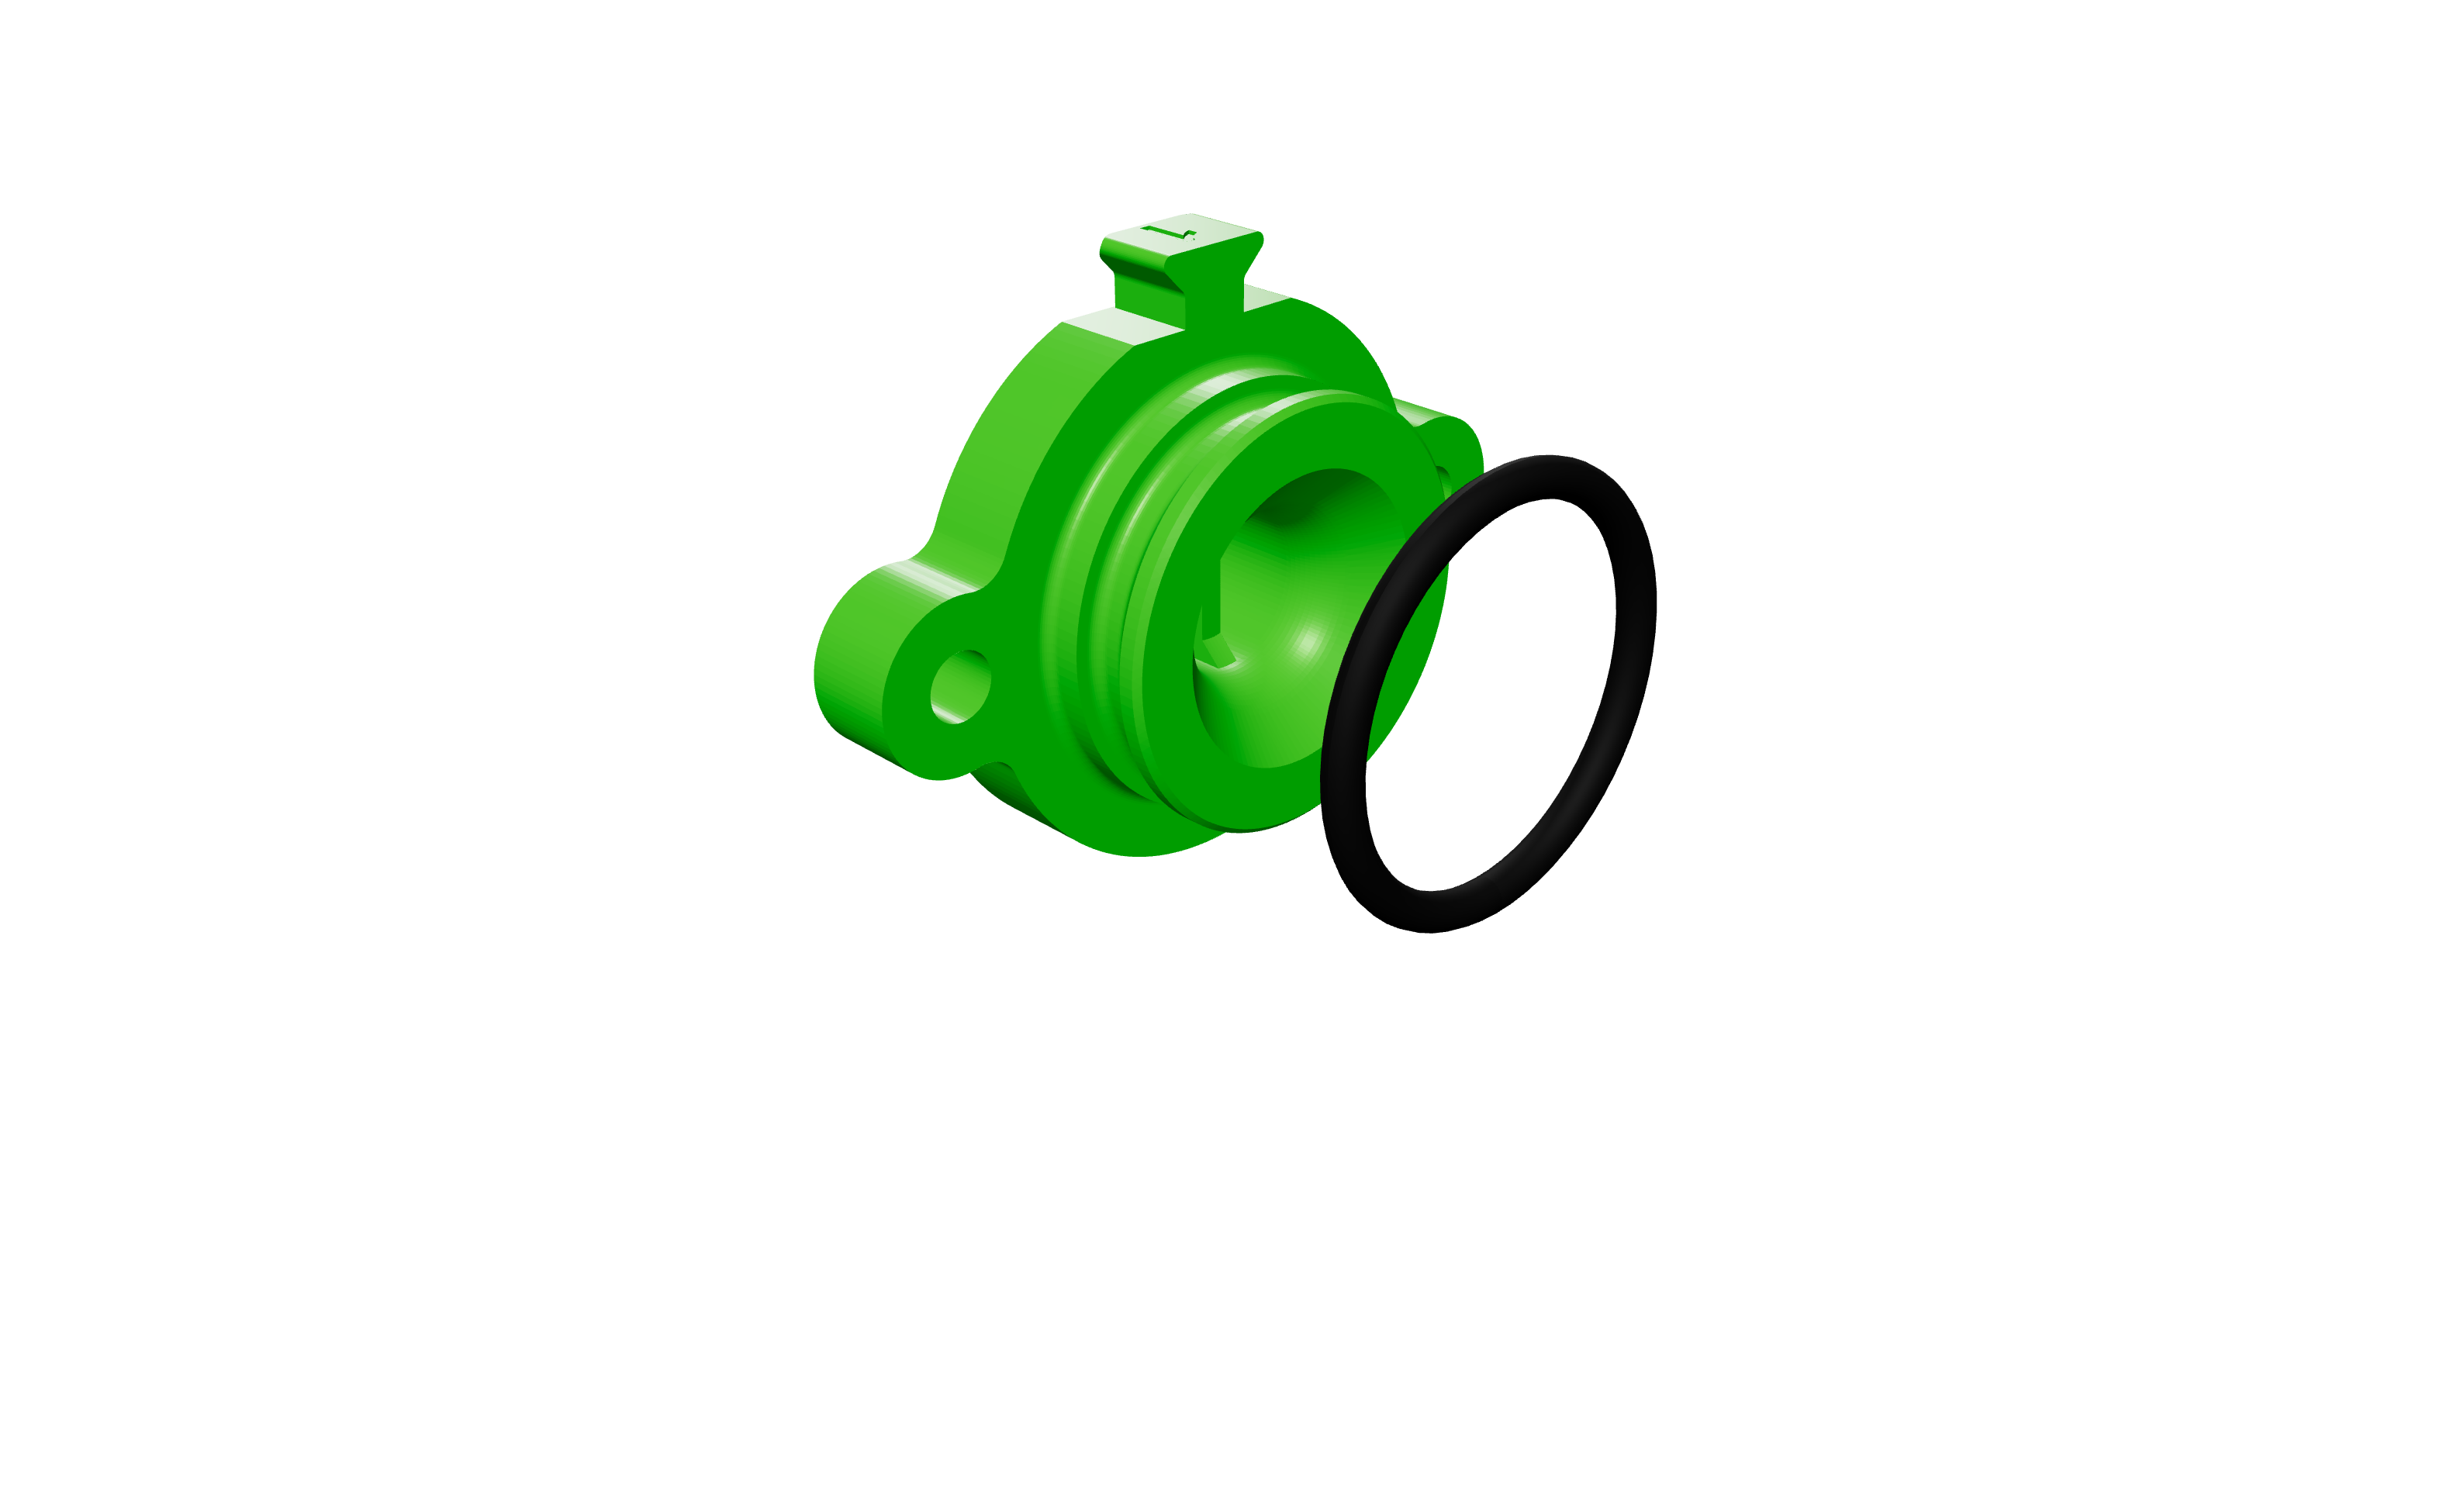
Put one of the larger o-rings (Dash 123...
Hardware
For makers
Slicebuild is the studio for multipart prints. Upload STLs, put hardware on each step, write the manual, and publish a public URL — instead of a zip and a PDF that goes stale. Builders follow it without an account.
What makers can do
If you already have the files, Slicebuild is the instruction layer. Studio holds the parts, the hardware, and the steps. Publishing puts a crawlable assembly guide on the web.
01
Drop STLs onto the project. Each part can carry print notes so builders are not guessing walls, infill, or material.
02
Screws, heat-set inserts, bearings, o-rings, springs. Put them on the step that uses them — the bill of materials writes itself.
03
One action per step, with a 3D figure you restage when geometry moves. No new PDF when a bracket revises.
04
Builders open the public page and start the guide. They do not need an account. You keep editing in Studio.
Machines · Sillybutts Wildstyle
From signup to a public URL
Five steps in Studio. Free. How it works is the longer walkthrough.
01
Free. Studio is where you upload files and write the manual. Published pages stay public without a login.
02
Name the machine, pick filaments, and upload the printed parts. Each STL can carry print notes so builders are not guessing walls and infill.
03
One action per step. Attach the hardware that step uses — screws, heat-set inserts, bearings — so the bill of materials writes itself.
04
The 3D view is the figure. Restage it when a part revises instead of reshooting a PDF.
05
One real step is enough to publish. The project lands on Explore and in the sitemap so people can find it.
Library
No projects match that search.
Before you start
More detail on how to publish instructions and the creator guide.
Makers: create an account, upload the STLs, and write the assembly instructions in Studio. Publishing puts a real manual on the public web.